Amp Settings and Pedalboard Effects
Pedalboard Stompbox Effects
Distortion/Overdrive
Overdrive
- Overdrive is the smooth ‘distortion’ produced by tube amps when driven to the point of breaking up
- Overdrive pedals are designed to either replicate this tone (with limited success) or drive a tube amp into overdrive, creating those screaming tubes beyond what they normally would be able to do without wall shaking volume
- Can be used as a boost pedal while adding girth to your tone from the distortion created by the pedal
- Most overdrive pedals have tone control giving you wider tone shaping possibilities.
Distortion
- Based on the above definition of overdrive, distortion is where overdrive leaves off
- Distortion pedals often emulate high gain amps that create thick walls of sound small tube amps are not capable of creating
- Primarily used in rock music, distortion can provide the crunch for rhythm guitar or the much-needed drive and sustain for lead lines and solos
- These pedals often simulate tube sounds like the overdrive, but offer enriched harmonic values - a smoother but harder sound
- Distortion pedals are very similar to overdrive pedals but offer more gain and sustain, ideal for rock and metal but certainly not limited to either
|
|
|
Reverb
Reverb
- Reverberation comprises many tiny echoes that bounce off surfaces and return to the ear at different times, with slight changes in pitch and volume.
- Reverb is one of the most fundamental effects for electric guitar, which is why it is already built into most amps
- Makes the guitar have more of a natural sound and decay, but you can go to the extremes and get cavernous depth to your sound
- Plate and spring are the most common types, but with so many makers coming up with new sonic “spaces” to play in, finding your reverb sound is a priority
|
|
|
Chorus
Chorus
- Chorus pedals split your signal in 2, modulates one of them by slowing it down and detuning it, then mixes it back in with the original signal
- The effect should emulate several guitarists playing the same thing at the same time, resulting in a wide swelling sound
- Chorus pedals are a great way to thicken up your sound
|
|
|
Delay
Delay
- A delay pedal creates a copy of an incoming signal and slightly time-delays its replay
- You can use it to create a “slap back” (single repetition) or an echo (multiple repetitions) effect.
|
|
|
Flanger
Flanger
- The earliest “flanger” effects were produced in the studio by playing 2 tape decks, both playing the same sounds, while an engineer would slow down or speed up the playback of one
- The edge of the old school tape reels is called the flange.
|
|
|
Tremolo
Tremolo
- Tremolo pedals modulate the guitars volume, rapidly turning the volume control up and down
- There are different waveforms used to modulate the volume level include sine waves, which give a smooth effect, a saw wave (the pulsation lessened), square wave (cutting the sound in and out), and other interesting variations
|
|
|
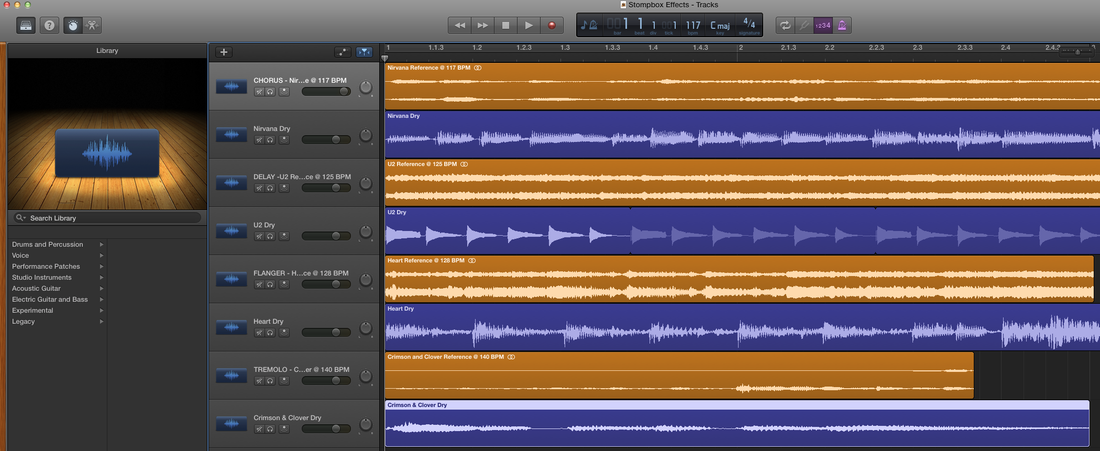
In-Class Assignment - Pedalboard Stompbox Effects
1. Open the Garageband file below
| stompbox_effects.zip |
2. You will notice that there are four Reference song tracks and four Dry Guitar tracks
Nirvana
3. Change the tempo to 117 BPM and listen to the Nirvana Reference track...
- The Stompbox effect on the guitar is a Chorus pedal
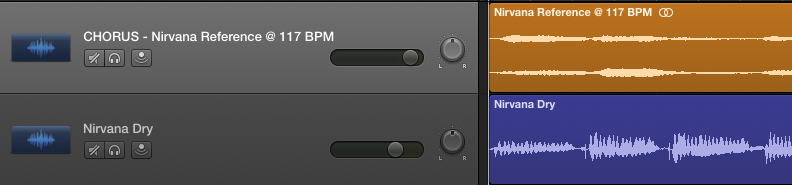
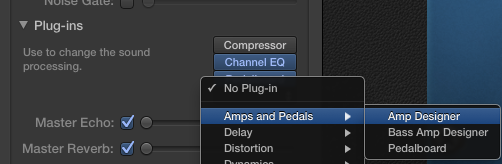
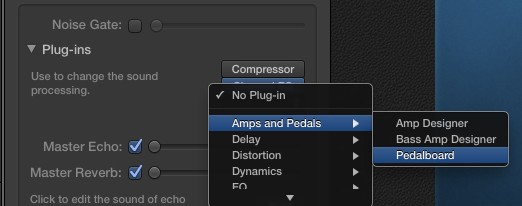
4. Add a Pedalboard to the Nirvana Dry track
- Plug-ins > Amps and Pedals > Pedalboard

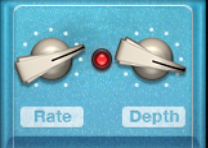
5. Find and drag the Retro Chorus pedal over to the Pedalboard

6. Adjust the Rate (Speed of effect) and Depth (depth of change in pitch) to match the Reference track
7. Add a Clean Amp and adjust the reverb setting on the Amp to match the Reference track
|

|
U2
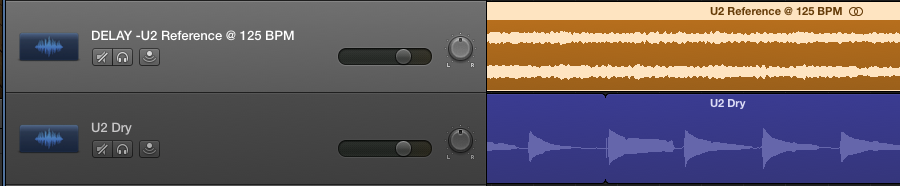
8. Change the Tempo to 125 BPM and listen to the U2 Reference track
- Notice that the guitar effect is a Delay
9. Add a Pedalboard to the U2 Dry track
- Plug-ins > Amps and Pedals > Pedalboard

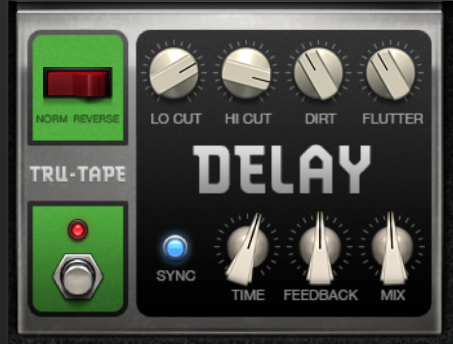
10. Find and drag the Delay pedal over to the Pedalboard

11. Make pedal adjustments:
- Click on the SYNC button (syncs to the BPM tempo)
- Adjust the TIME knob to 1/8d (bottom number represents number of delays per measure)
- Adjust the FEEDBACK (length of delay repeat) and MIX (mix of dry and wet signals) until it sounds like the reference track
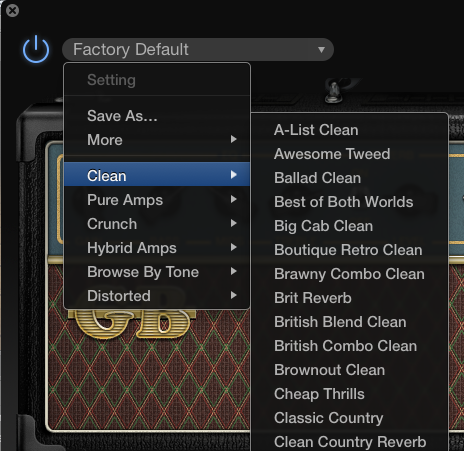
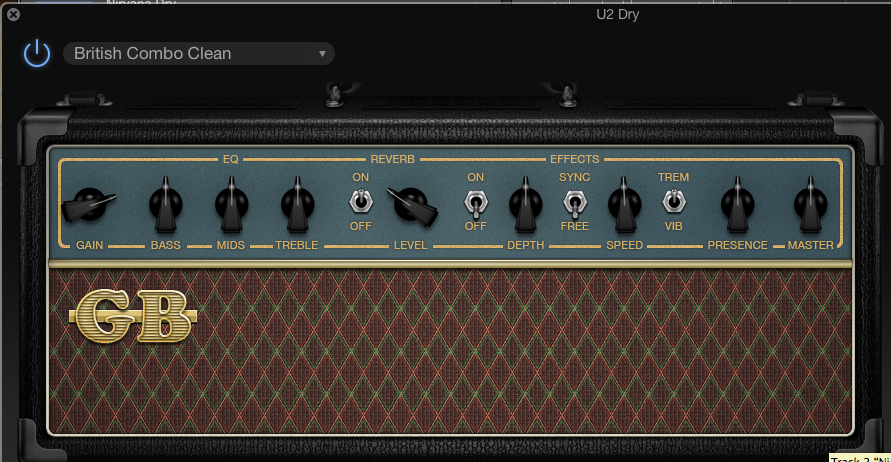
12. Add the British Combo Clean Amp...
- Adjust the Gain to overdrive the tubes a little
- Adjust the Reverb to give the sound more sonic space
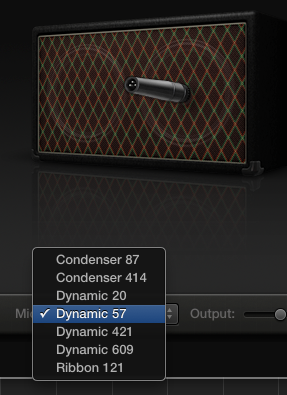
13. Selecting and Adjusting the Microphone
- Change microphone to the 57
- Move the microphone closer to the speaker
|

|
14. Make further EQ adjustments using the 3-band EQ rotary knobs on the amp
- Listen to the Reference track to hear what frequencies may need to be cut or boosted
- Bass = Lower frequencies
- Mids = Middle frequencies
- Treble = Higher frequencies

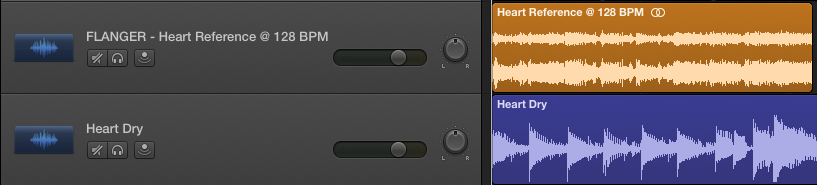
Heart
15. Change the Tempo to 128 BPM and listen to the Heart Reference track
- Notice that the guitar effect is a Flanger
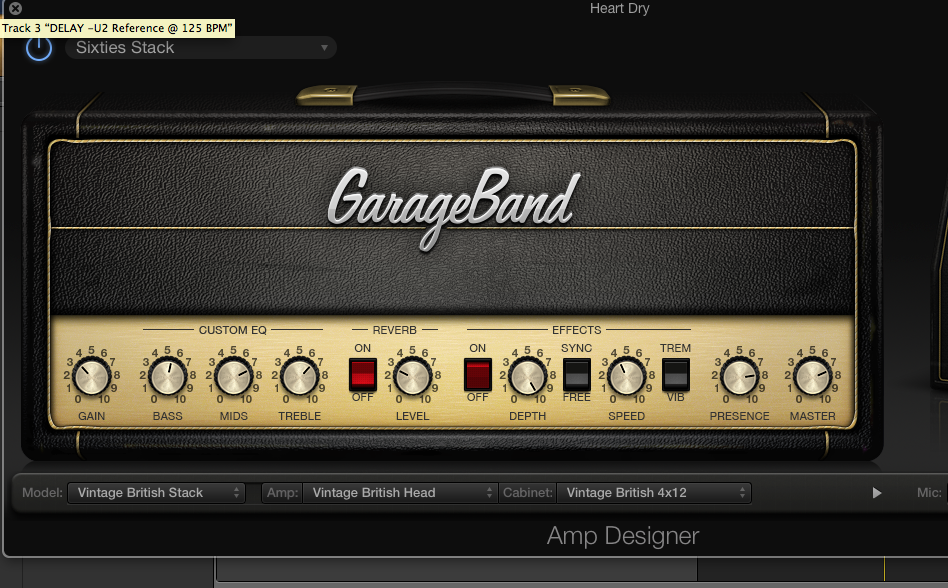
16. Add the 60s Stack Amp...
- Adjust the Gain so that there is little-to-no distortion
- Adjust the Master to boost the volume
- Adjust the Reverb to give the sound more sonic space
- Audition each microphone and play around with mic placement on the speaker until you've found a tone you like
17. Add a Pedalboard to the Heart Dry track
- Plug-ins > Amps and Pedals > Pedalboard
- Move the Pedalboard ahead of (above) the Amp Designer on the Plug-ins display

18. Find and drag the RoboFlanger and the Vintage Drive pedal over to the Pedalboard
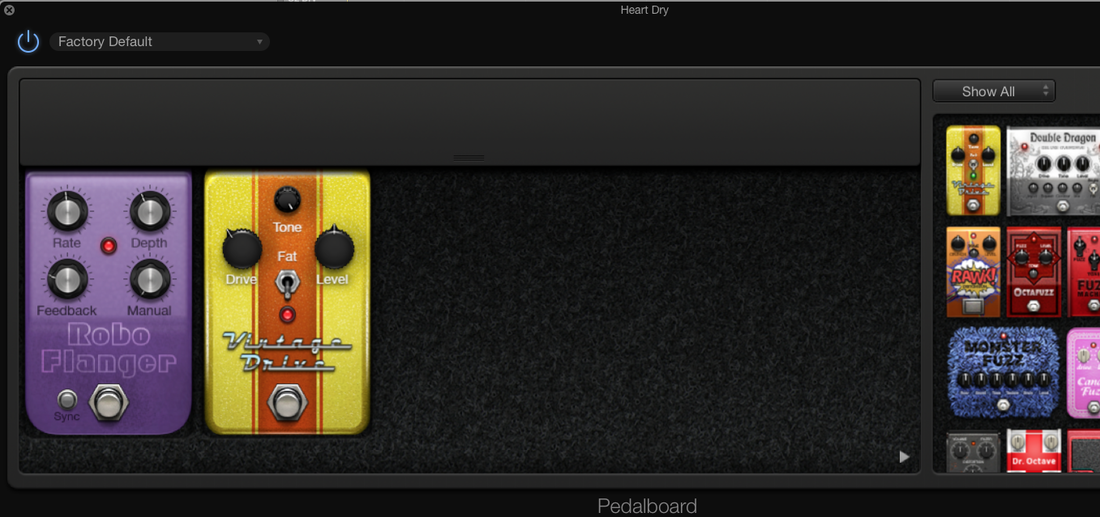
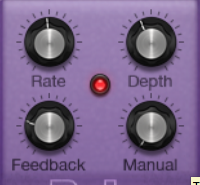
19. Make Flanger pedal adjustments to mimic the Reference track:
- Rate = How quickly the wet signal is slowed down or sped up
- Depth = The range in which the wet signal is slowed
- Feedback = The amount of wet signal you are mixing in with the dry signal
- Manual = Specific rate of speed in milliseconds in which the wet signal is sowed down or sped up (leave at zero if using the Rate knob)
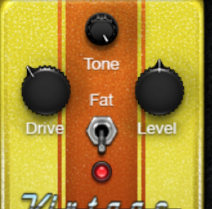
20. Make Overdrive pedal adjustments to mimic the reference track:
- Drive = The amount of signal in which you wish to overdrive (distort)
- Level = Gain/Volume boost
- Tone = 1-band EQ that accentuates a singular range of EQ frequencies from lows (dark sounding), mids (boxy sounding), highs (bright sounding)
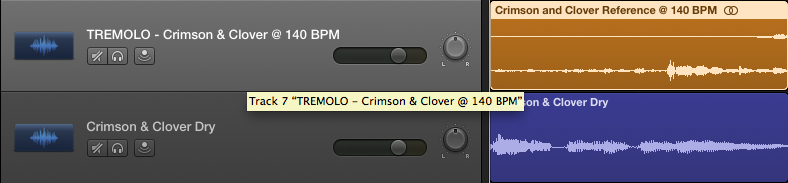
Crimson and Clover
21. Change the Tempo to 140 BPM and listen to the Crimson & Clover Reference track
- Notice that the guitar effect is a Tremolo
22. Add a Pedalboard to the Heart Dry track
- Plug-ins > Amps and Pedals > Pedalboard
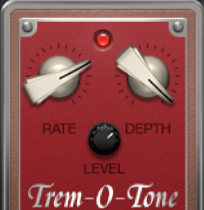
23. Find and drag the Trem-o-tone pedal over to the Pedalboard

24. Make Tremolo pedal adjustments to mimic the reference track:
- Click on the SYNC button (syncs to the BPM tempo)
- Rate = The amount of Volume changes occurring within 1 measure, set it to 1/8
- Depth = how extreme the volume drops
- Level = Volume boost
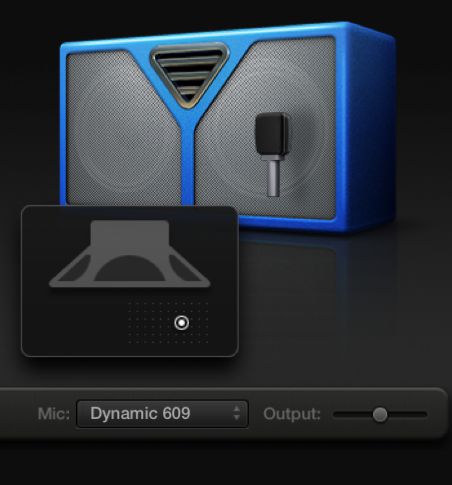
25. Add the Boutique Retro Amp...
- Adjust the Gain so that there is little-to-no distortion
- Adjust the Master to boost the volume
- Adjust the Reverb to give the sound more sonic space
- Change the microphone to the 609 and place the microphone toward the edge of the speaker and a few inches away from the surface

|
|
26. Using the Tremolo on the Amp instead of the Pedalboard
- Turn off the Pedalboard effects
- On the Amp, turn the Tremolo effect switch on
- Move the switch from FREE to SYNC
- Adjust the SPEED to 1/8
- Adjust the DEPTH until it closely mimics the Reference track

Submit Assignment
Once finished, be sure to save this assignment as LASTNAME.stompbox.band and be prepared to show it to Prof. Goode for one-on-one feedback.
