GarageBand Recording with Microphones
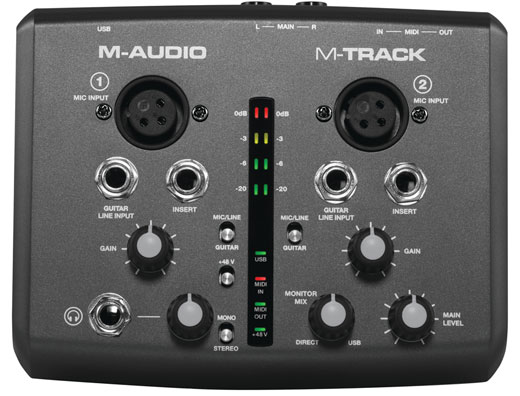
M-Audio M-Track Interface
- M-Track
- Two mic/line inputs
- Phantom Power switch
- Gain and Output knobs

Connecting Your Equipment
1. Connect your M-Audio M-Track via USB cable to your iMac
2. Attach AT2020 mount to the microphone stand by carefully twisting it on
3. Attach the AT2020 microphone to the mount by carefully twisting it on
4. Attach the XLR cable to the microphone and to the M-Track's channel 1
2. Attach AT2020 mount to the microphone stand by carefully twisting it on
3. Attach the AT2020 microphone to the mount by carefully twisting it on
4. Attach the XLR cable to the microphone and to the M-Track's channel 1
5. Switch MIC/LINE to MIC
6. Switch +48V phantom power to on
6. Switch +48V phantom power to on
Launching Project & Setting Preferences
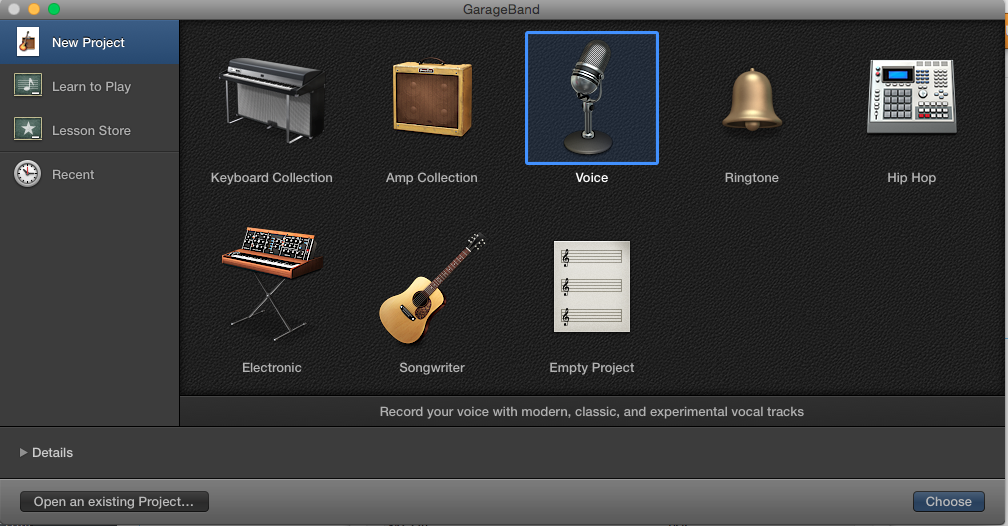
7. Launch GarageBand
8. Select New Voice Project
8. Select New Voice Project
9. Click the drop-down arrow next to Details
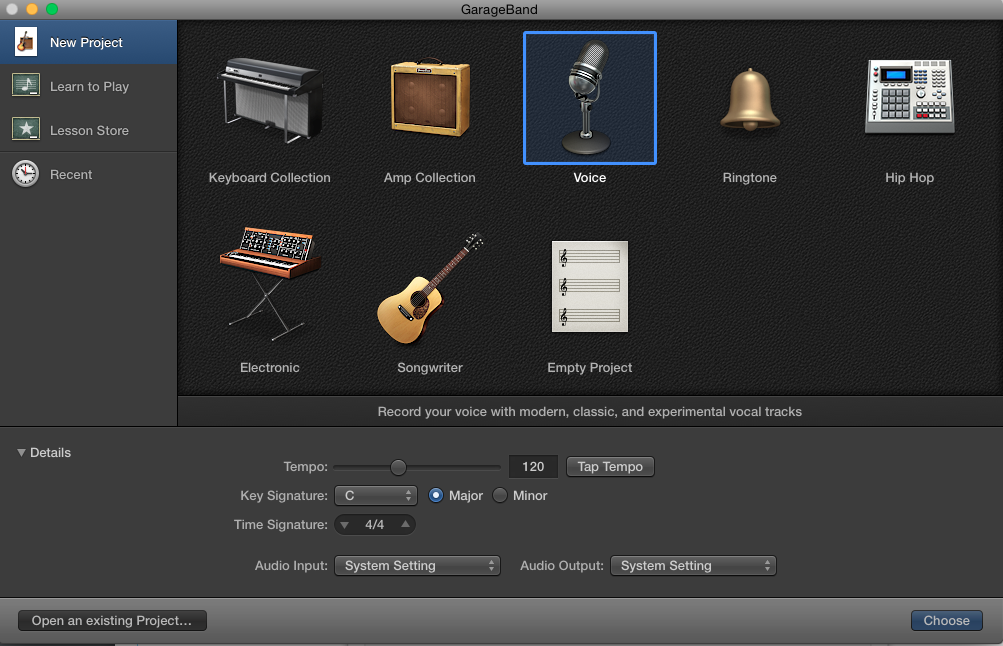
10. Click the System Setting drop-down arrow next to Audio Input and select M-Audio M-Track

11. Click the System Setting drop-down arrow next to Audio Output and select M-Audio M-Track if you are connecting your Headphones to the M-Track, otherwise leave the Audio Output setting on Built-In Output and connect your headphones to the computer

Checking Your Mic Input Levels
12. Speak into your microphone at the volume level in which you will be recording at
13. Use the gain knob to raise or lower the input level so that your input signal peaks in the yellow on the M-Track's LED display
- Be sure you are speaking into the front of the mic and not the back
13. Use the gain knob to raise or lower the input level so that your input signal peaks in the yellow on the M-Track's LED display

14. Once you've checked your levels on the M-Track, Select the Narration Vocal track and speak into the microphone, adjusting the GarageBand track fader so that your track is peaking in the yellow as well
Recording with a Microphone
15. Press Record and begin a simple test recording by saying ABCDEFG
16. Press Spacebar to stop Recording
17. Press Return to Return to Zero
18. Press Spacebar to check your recording
19. If there is clipping (distortion in the vocal) adjust the gain on the M-Track and re-record
20. Check your recording again
16. Press Spacebar to stop Recording
17. Press Return to Return to Zero
18. Press Spacebar to check your recording
19. If there is clipping (distortion in the vocal) adjust the gain on the M-Track and re-record
20. Check your recording again
Vocal Effects
Effects
- Some singers feel more confident with a little reverb and EQ on their vocal while they lay down their tracks
- You are able to apply any effects you want in GarageBand without them being recorded onto the track itself
- All effects run through a processor that is separate from the recorded tracks
- For electric guitar players:
- Most will want to record through their own amp with their own stompbox effects. If recording is done this way, the effects are recorded straight to the track and there is no way to reduce or change the effects in post-production
- Therefore, always record a completely dry track as well so you can add and manipulate the effects in post-production
- I always record two separate tracks for each guitar part and spread them out in the stereo field (that is where the magic happens--trust me)
- We will learn how to record a guitar directly into GarageBand while utilizing their built-in amps and stop box effects later on
Adding Effects Plug-Ins
1. Be sure the track you want to add effects to is highlighted light gray
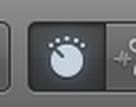
2. Click on the Effects Smart Control button in the upper left-hand corner
2. Click on the Effects Smart Control button in the upper left-hand corner
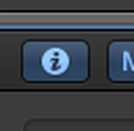
3. Click on the Inspector button in the Editing Region
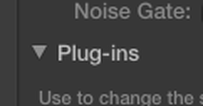
4. Click the drop-down arrow next to Plug-ins
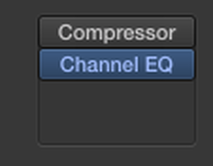
5. Click anywhere in the Plug-ins list below Channel EQ
|
|
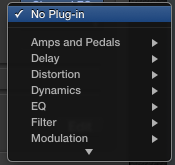
6. Scroll down the Plug-ins list until you find the Effect plug-in you desire
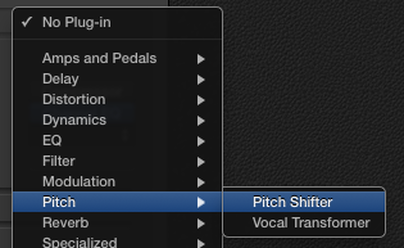
7. A smart control box will appear for you to make effects adjustments to your liking
8. It is always smart to explore the factory presets by clicking on the drop-down arrow next to Factory Default
Many times the presets are perfect for what you need and you will not have to do much adjusting at all
Many times the presets are perfect for what you need and you will not have to do much adjusting at all
Recording Great Vocals in Two Steps
In-Class Assignment
Microphone Recording and Editing
Today you will be setting up your AT2020 microphones and the M-Track audio interface and recording yourself reciting the alphabet
Once you've recorded the alphabet, you will then:
Go to BlackBoard>Course Content>Assignments>Microphone Recording.
All late entries will recieve a ZERO.
Once you've recorded the alphabet, you will then:
- Edit your track by identifying the letters of your first name
- Delete all of the unnecessary recorded letters
- Duplicate any letters you need multiples of
- Arrange the needed letters to spell out your first name
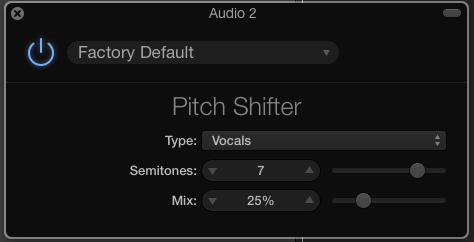
- Add the Pitch Shifter effect to your vocal and reduce the pitch by about -10 semitones (this will deepen your voice)
- Copy the region to a new track and raise the pitch of your voice 10 semitones to make you sound like a chipmunk
- Stagger your two tracks so that one plays directly after the other.
- Bounce out an mp3 of your unfinished project as LASTNAME.microphone.mp3
- Submit the mp3 to BlackBoard by Sunday evening.
Go to BlackBoard>Course Content>Assignments>Microphone Recording.
All late entries will recieve a ZERO.
